
The First Failures
So it began with a key… a sketch of a key to be precise. From that came the sculpture. I endeavored to make a replica of the drawing. I hadn’t played with clay in years, and I spent about three days working on it… but then…
I tested to see if gravity was working. It was. Coupled by me having not worked with clay in some time… I wanted to cry when it broke, but then, as often is the case, something it became a new and improved inspiration.
The second rendition created a less traditional interpretation of what the key should look like. Birds will play a significant part in the series as well, I felt the first introduction should marry the two: key and bird.
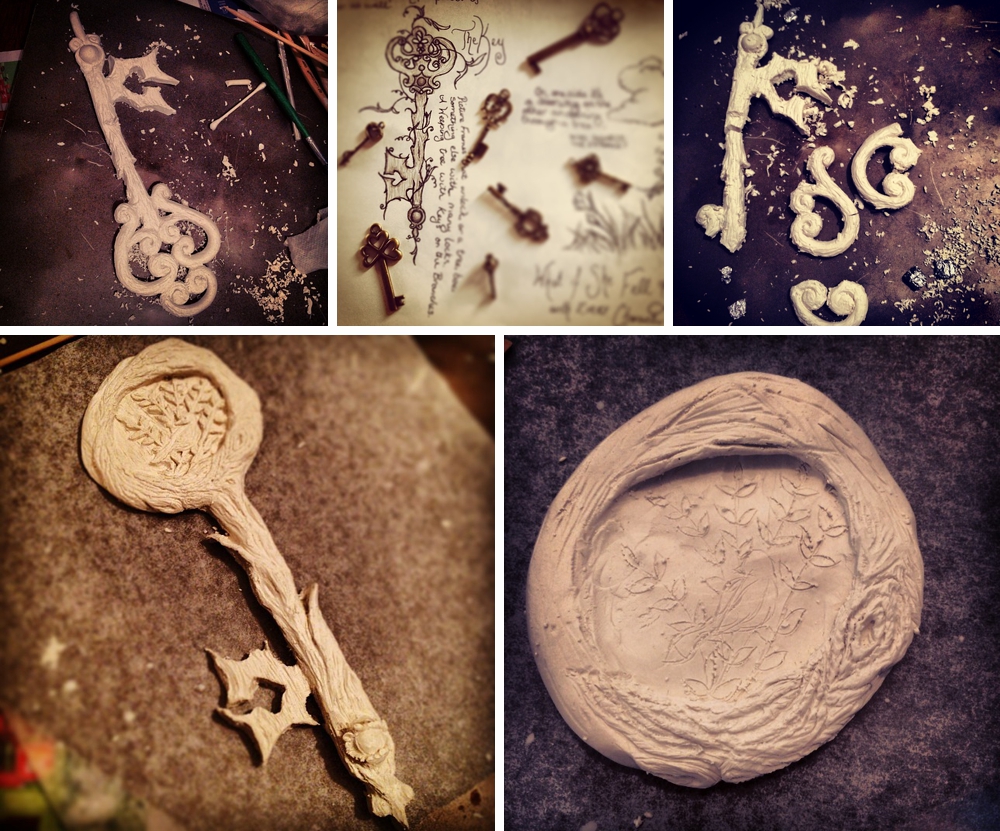
I wanted the key to look as though it was hundreds of years old, carved from a tree thousands of years old. It had to appear living, as it will have a consciousness of its own throughout the journey, and adapt to fit the locks she is meant to open… this will greatly frustrate her as she learns the difference between want to and meant to… an important life lesson as well I think… One I’ve been learning the hard way.
It took me nearly a week just through the sculpting and carving process. I’m quite certain my pride in it will dissipate throughout the process of creation; eventually it will become the first prop that I’ll muse how excited I was in what I now consider mediocrity of talent, knowledge and execution… For the moment though, I am quite enamored with it.
My ambition is to create solely for and from myself, but still make it marketable and profitable, and so I’ve considered often times in film the props are enchanting in their own right, and coveted. The ability to make additional ones could be strategically and profitably beneficial. It’d serve as a unique prop for others, and coincidentally the project will become self funding, which in turn is the first step of building the foundation for it to be profitable.
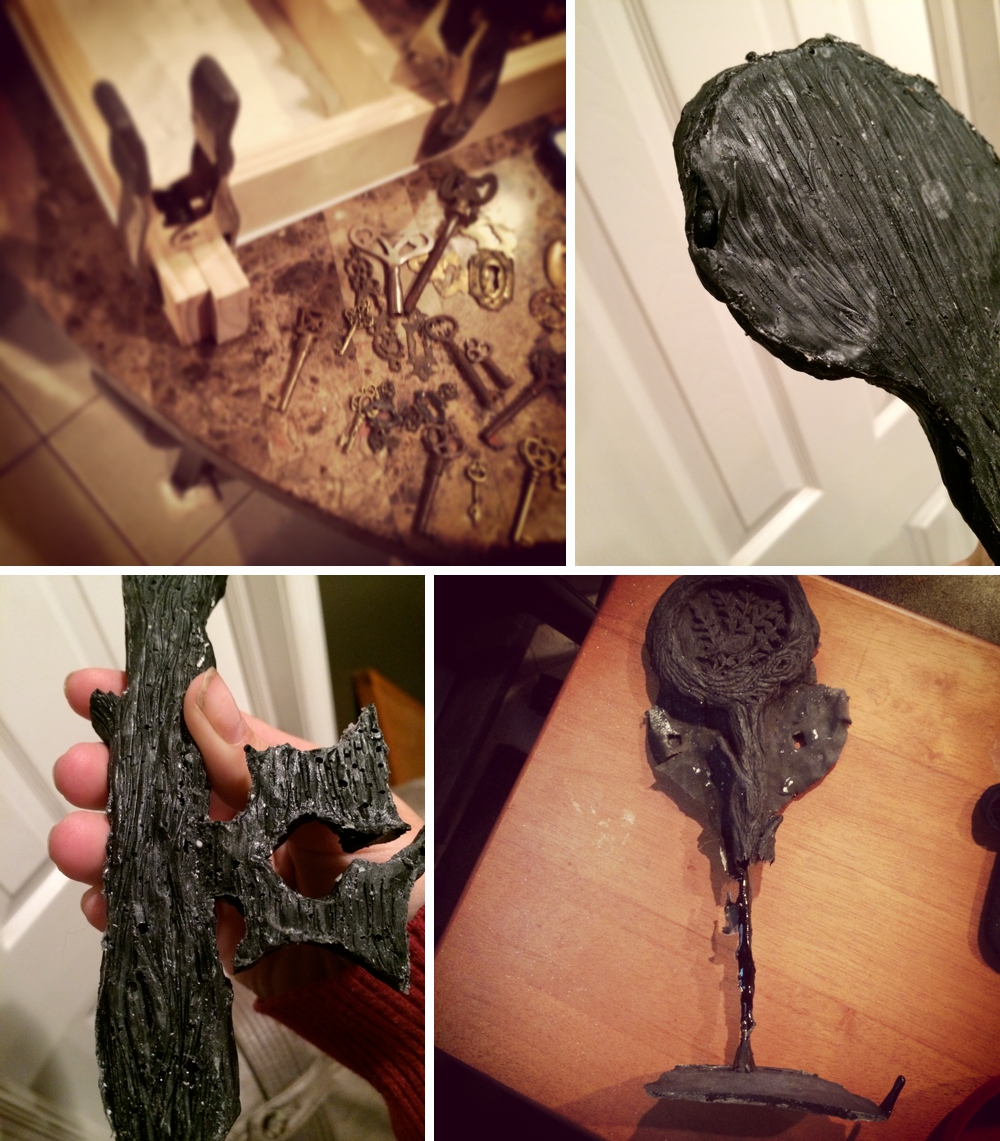
I turned to Michael Rhodes of www.ModernDayAntique.com to aid in my desire to replicate and preserve the design. He responded to my invitation showing up with gifts of his beautiful photo cases. He explained we could create a mold of the key and cast them in resin… something I knew nothing about.
Essentially the process was to first make a “box” that we could pour the mold solution into. He borrowed some of my clay to lay down initially and build around my key… The mold must be cast in two halves. The first allowed to cure and solidify completely so that the second half does not adhere permanently to it. {I don’t recommend just winging this, Michael Rhodes hosts workshops teaching how to work with the mold and resin materials properly, and also has a PDF book on it. You can go to www.ModernDayAntique.com to learn more about his classes and http://www.moderndayantique.com/case-making-kits/ to buy his book and kits}
It took about 4 hours for each side of the mold to cure, and about 2 hours for the Resin to cure enough to remove it from the mold, after which it sits for a full 24 hours to sufficiently harden. We purchased them from http://www.smooth-on.com. The total cost for the mold and resin materials was less than $100, I’ll update you on how many I am able to make before having to buy more.
Part I of the Cinema Documentary will have a lot of in depth footage on the process but you can also see our intimate video on the making of a key at https://thereliquarian.com/2014/02/19/makingofakey/
As he had traveled nearly 11 hours to aid in this endeavor, he left early in the am instructing me that I could remove it after we got back from breakfast… however when I did there were pockmarks, hollow and soft spots, caused by air bubbles trapped in.
After a consultation with Rhodes, I attempted to pour the mold vertically instead of filling it horizontally. I was concerned the resin was coating the sides but trapping air within {Obviously I was drawing from my immense experience in the medium at this point.}
I made it worse instead of better. Assuming that when it bubbled up through the top it was full to overflowing, I left it to sit and cure… Rhodes had warned me the resin has a very short shelf list once it is mixed… you literally have only minutes to work with and pour it before it starts to thicken and cure. It begins with a syrup like consistency and quickly turns to tar and then solid all before 10 minutes… not exceptionally forgiving for a newbie not familiar with the substances or work flow.
What I assumed was a full mold was actually a clot that formed and while I expected a robust detailed key, I got a limp and frail rendition that both made me really disappointed and amused… I posted up the photograph with a question of 3rd time’s the charm? And so I attempted to cast it yet again, and was triumphant!
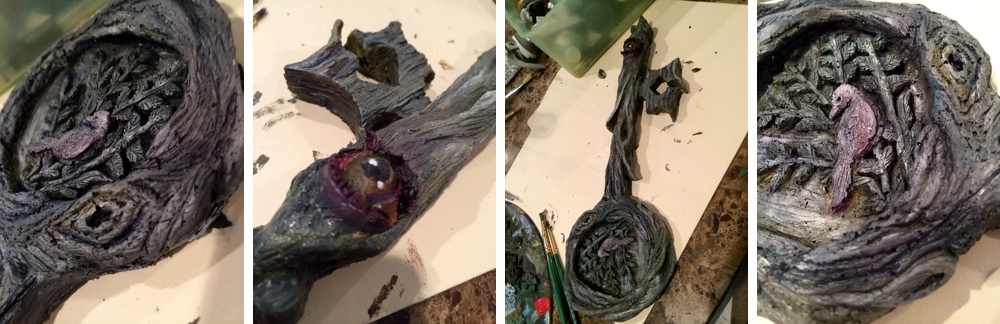
I now had a key, and a mold to make additional, for myself or others. I really loved the texture and feel of it but found it still lacking impact. Resin however allows you the ability to paint it, something that I do have much experience with and the colors amplified all the details I had carved monumentally.
The key is meant to look old, and magical, and alive. It is a talisman of sorts for our young Reliquarian, and as it is opening doors along her journey it is a sort of guide, so I wanted it to keep a watchful eye… though the ‘lashes’ are petals, adding to the concept it was carved from a magical tree.

No Comments